
Appearance
Quick Start
This tutorial walks you through generating your first batch of fake content with Faker Studio. The entire process takes less than a minute.
Prerequisites
Install and activate the Faker Studio plugin — see the Installation guide. Faker Studio Lite works immediately after activation with no license key. Faker Studio Premium requires a valid license key; see License.
TIP
Faker Studio works with any WordPress theme and any registered post types. Custom post types from ACF, JetEngine, Meta Box AIO, or CPTUI are automatically detected.
Step 1: Navigate to Faker Studio
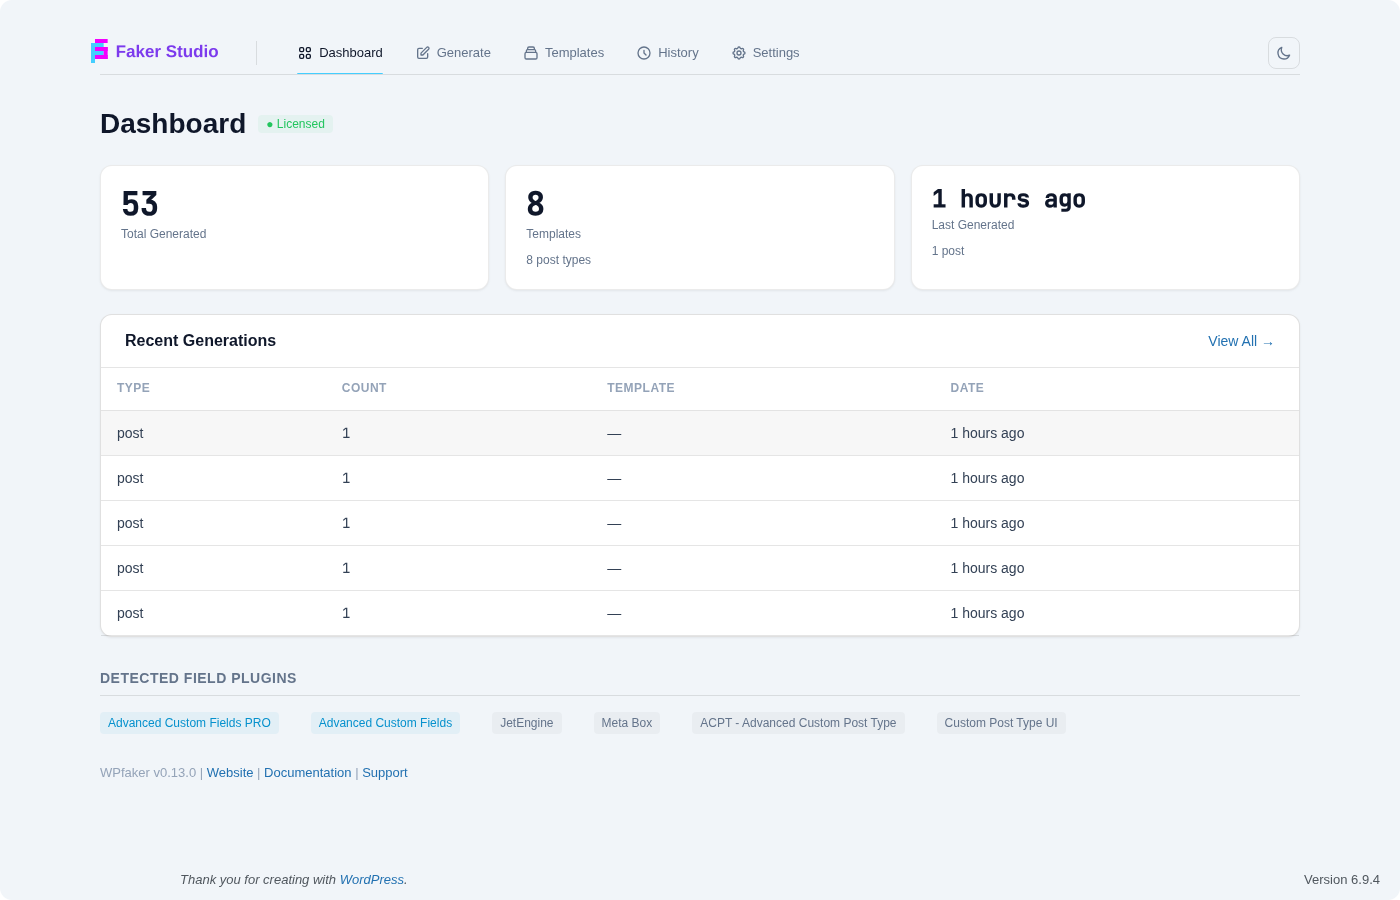
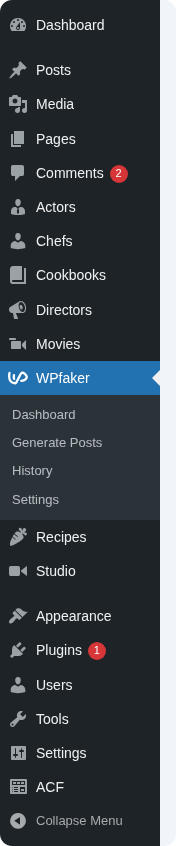
Open your WordPress admin and click Faker Studio in the left sidebar. The Dashboard shows an overview of your generated content and quick stats.
The sidebar has five sections: Dashboard (statistics and recent activity), Generate (create posts, plus Premium sub-tabs for terms, users, and comments), Templates (configure generation templates), History Premium (track and clean up generated content — Lite uses the Danger Zone toggles on the Generate page instead), and Settings (defaults, image providers, AI detection, license).
Step 2: Generate Posts
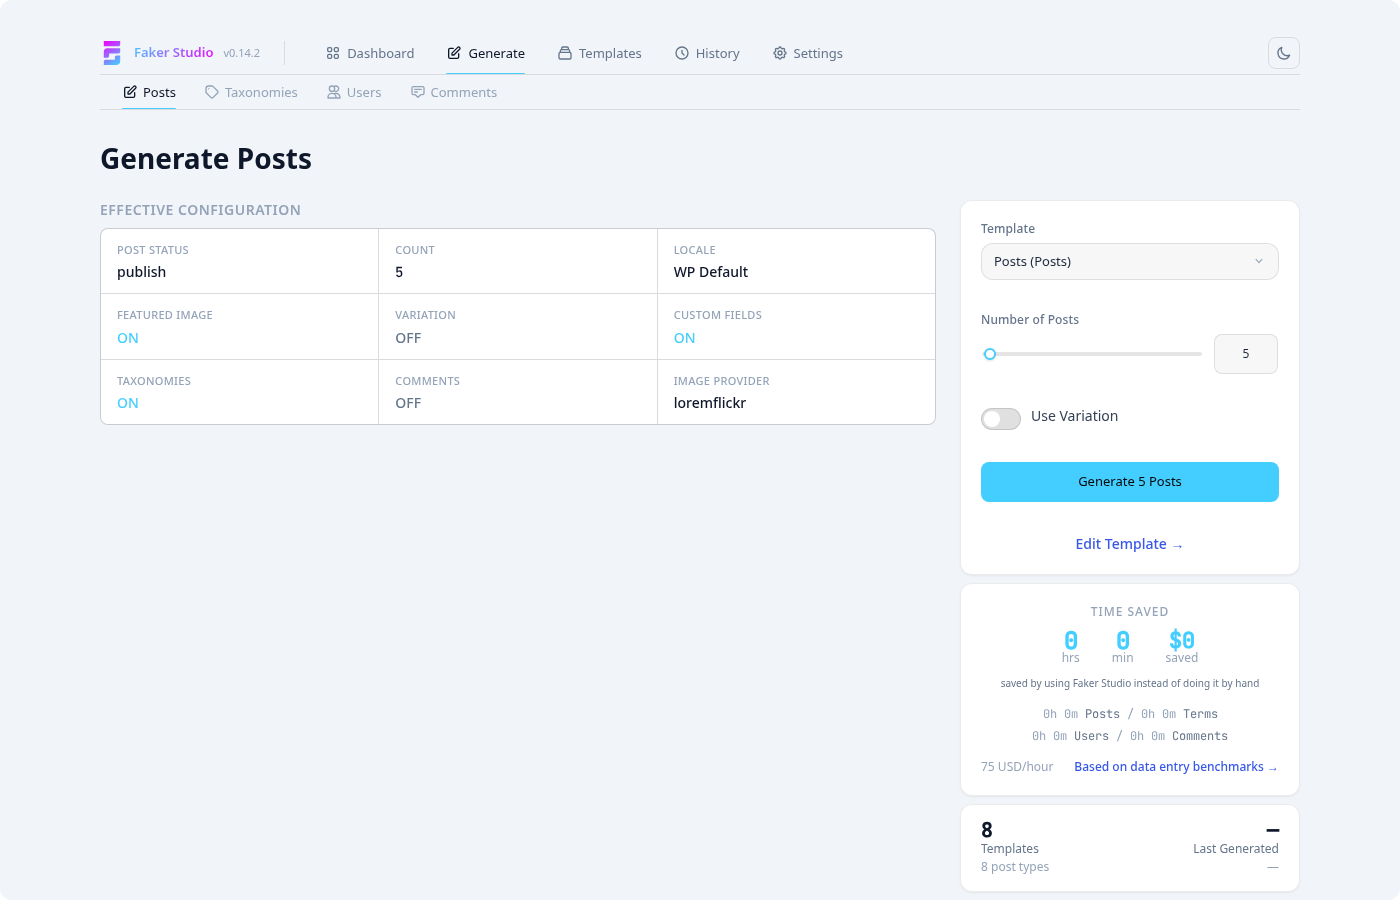
Click Generate in the Faker Studio sidebar. Select a Post Type from the dropdown — for this tutorial, choose Posts.
Set the Number of Posts to 10 and click Generate.
That's it. Faker Studio handles everything else automatically:
- Featured images are downloaded and attached (enabled by default)
- Categories and tags are created and assigned to each post
- Authors are created if none exist
- Custom fields are populated if your post type has any
- Post status defaults to "Publish" so content is immediately visible
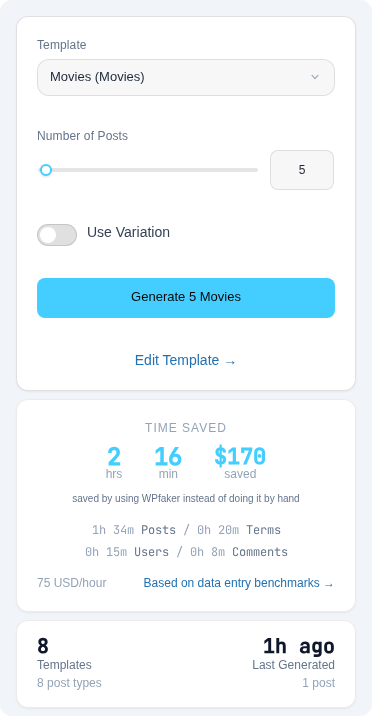
The progress indicator shows each post being created. When generation completes, a summary tells you exactly what was created: posts, images, custom fields, auto-created authors, and taxonomy terms.
INFO
All generation settings are controlled through Templates. Each post type gets a default template with sensible defaults. To customize behavior — like changing the image provider, adjusting content variation, or controlling which custom fields get populated — edit the template for your post type.
Step 3: View Your Generated Posts
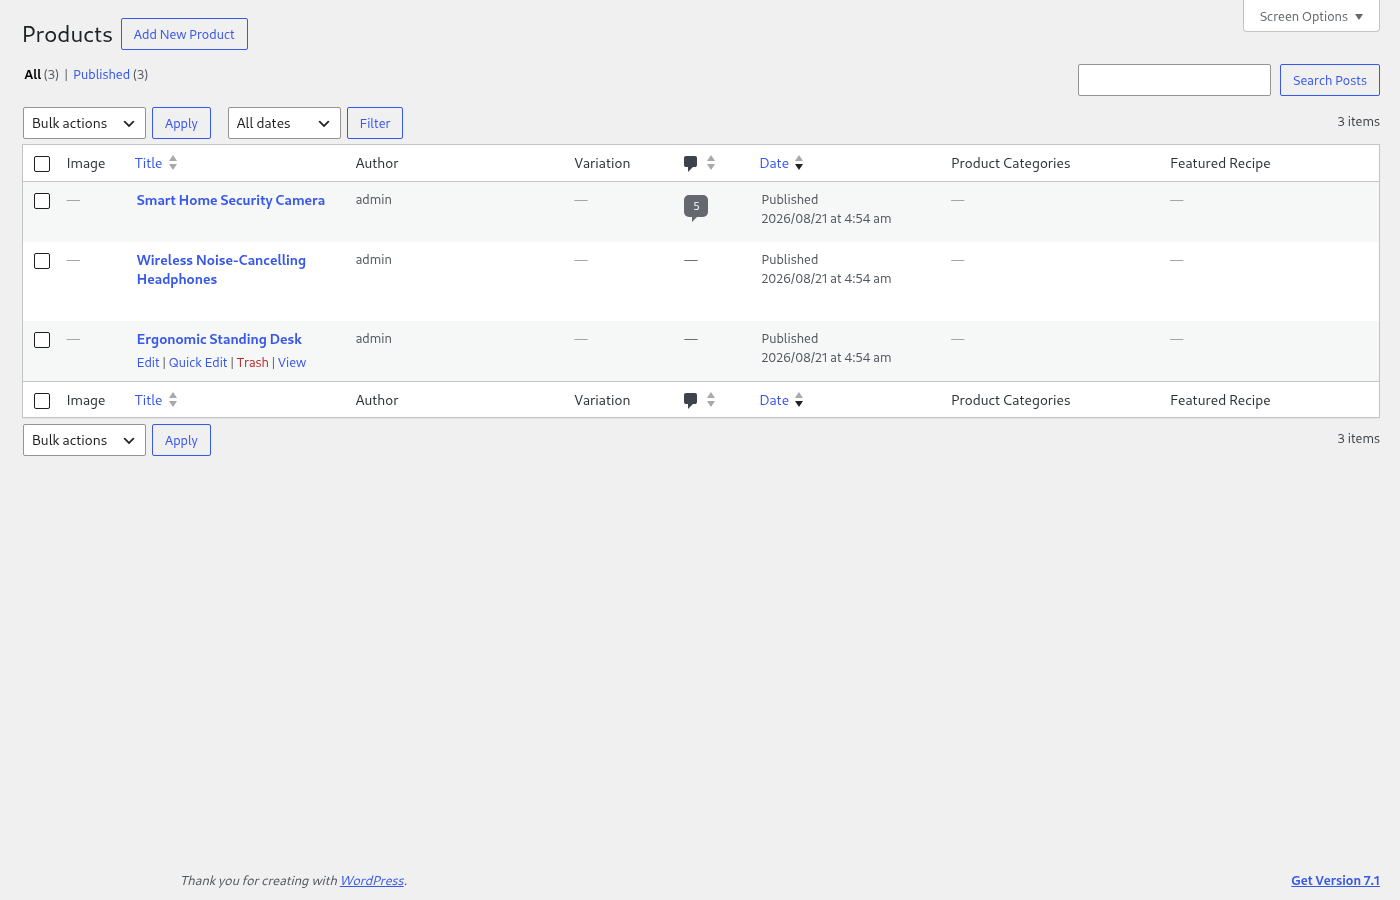
Navigate to Posts > All Posts in WordPress. You'll see your 10 new posts, each with a unique title, varied content, and an attached featured image.
Click into a few posts to see the content. Faker Studio generates genuinely different articles — some short, some longer with subheadings and lists. Visit the frontend to see them displayed with their featured images, just as real content would appear.
Step 4: Check Your History (Premium)
Faker Studio Lite
Lite does not include the standalone History screen described below. To clean up generated content in Lite, use the Delete Existing Posts toggle in the Danger Zone on the Generate page instead — see Post Generation.
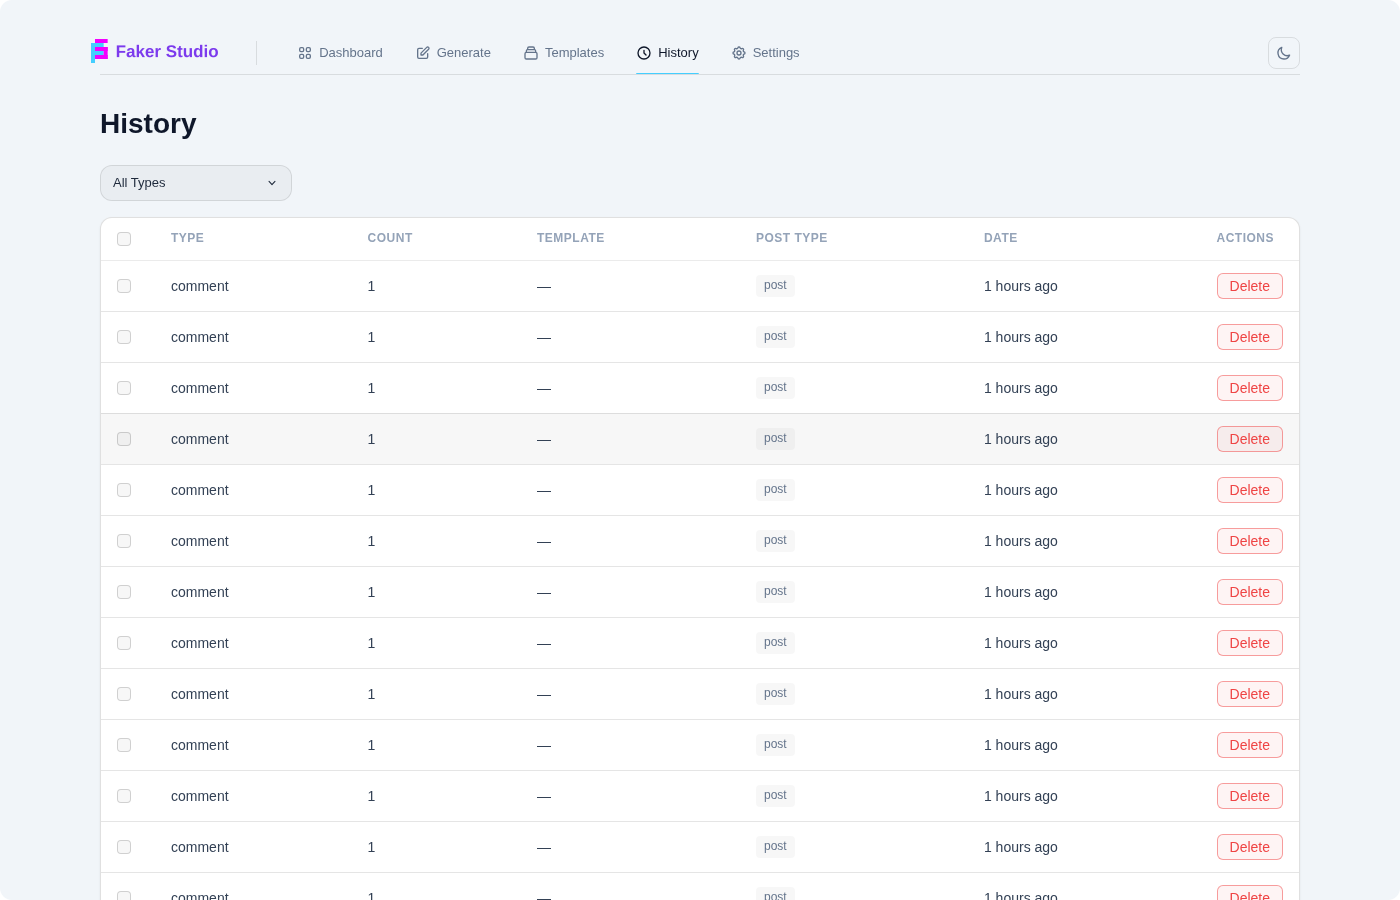
Click History in the Faker Studio sidebar. Every post, term, user, and comment that Faker Studio generated is tracked here with timestamps and types.
The History page lets you filter by content type. Each entry shows whether the item still exists or has been deleted. To clean up, you can delete individual items, use Delete & Generate on the Generate page to wipe and recreate content in one step, or use the Danger Zone in Settings to remove all generated content at once.
TIP
Use Delete & Generate to keep your test data fresh. This removes previously generated content and creates new content in one step.
Next Steps
You've generated a full set of test content in one click. Here's where to go next:
- Template System — Customize how each post type and its fields are generated (General settings in Lite, full editing in Premium)
- Content Variation — Control content length, structure, and formatting diversity
- AI Field Detection Premium — Enable AI-powered detection for unusual custom field names
- Settings — Configure image providers, locale, and default behavior